6 Kid-Friendly Easter Crafts To Get Into The Easter Spirit
1,446
Easter is just around the corner, and what better way to celebrate than with some fun and creative family-friendly Easter crafts? From DIY Easter crafts for kids to Easter home décor ideas, this post walks you through the best religious Easter crafts that will have your little ones hopping with excitement.
These easy and adorable crafts are perfect for a day of family fun and will make your Easter celebration even more thrilling. So, put on your bunny ears and hop into Easter fun with the following roller-coaster Easter craft ideas.
Salt Dough Easter Egg Decorations
Combine flour, salt, and water to create salt dough Easter eggs, and then use a biscuit cutter to mold the shapes. After baking, attempt acrylic paint pouring or apply acrylic paint. This technique is effortless, and the designs will vary each time, but securing your surfaces is critical before starting. You will need the following items to design salt dough Easter eggs:
Salt
Plain flour
Mixing bowl
Water
Baking parchment
Rolling pin
Baking tray
Acrylic paint
Biscuit cutter
String
Steps to Follow:
Preheat your oven to 275F. Combine two portions of plain flour with one portion of salt and water. Once the mixture forms a dough, knead it with your hands. Add some extra flour if the dough feels slightly adhesive, or add more water if it appears brittle.
On a surface sprinkled with flour, roll the dough until it’s 5mm-1cm thick. Cut out as many egg shapes as possible using an oval-shaped biscuit cutter. If you intend to create hanging Easter eggs, use a skewer or the end of a straw to create a hole on the top.
Use baking parchment to cover the baking tray and place the salt dough eggs on top, ensuring they are in a single layer. Next, bake for approximately two to three hours on the lower shelf or until the shapes become firm. Allow the eggs to cool entirely before handling them.
Apply acrylic paint over the eggs, ensuring the color covers the sides completely. Else, paint them using common techniques. Allow the paint to dry entirely, then pass a string through the hole at the top and protect it with a knot before hanging the eggs.
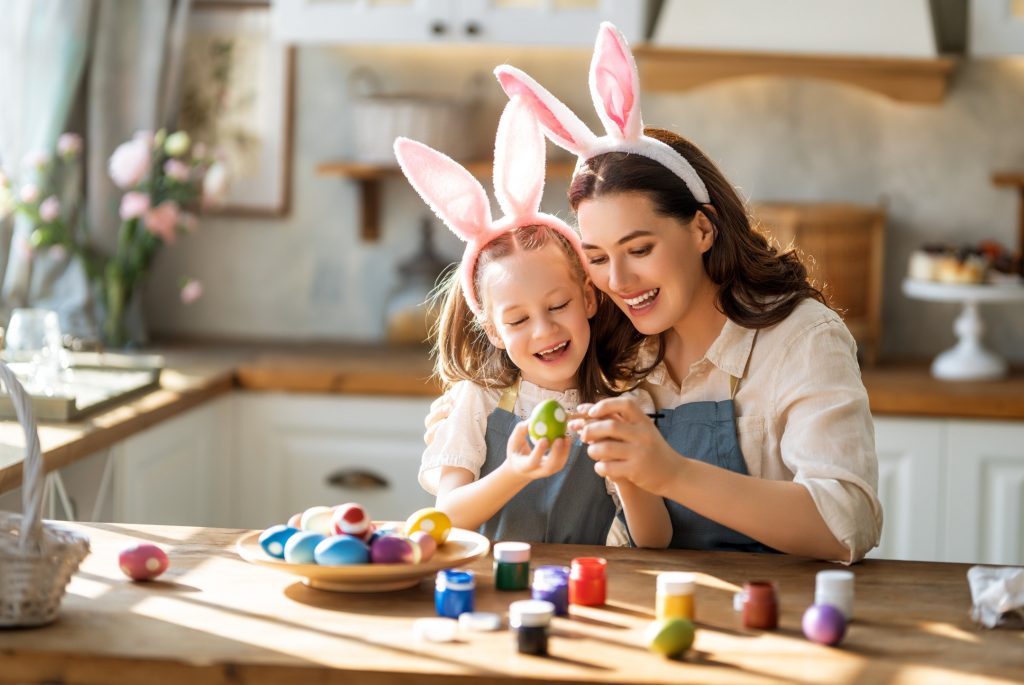
Painted Decorative Eggs
Easter egg decorating is an excellent way to get into the spirit of spring and a creative Easter craft project that everyone can enjoy. Painting empty eggs is a traditional and charming DIY activity that can be a fresh alternative to store-bought or plastic decorations.
Paint the eggs in pastel shades if you want a classic look. Choose bright, neon, or metallic colors for a more modern feel. The easy-to-follow steps below will show you how to blow and paint eggs in under an hour, making this craft one of the most engaging and kid-friendly Easter activities.
You will require the following items:
Pin (you can also use a sharp metal skewer or a needle).
Eggs
Bowl
Wooden skewer or cocktail stick
Acrylic paint
Paintbrush and sponge to apply the paint
Steps to Follow
Using a needle or a pin, create a hole at the top and bottom of the egg. Increase the hole’s size gradually by inserting a skewer or cocktail stick. Being gentle during this process is essential because the egg will crack if the hole becomes enormous. The hole at the bottom should be sufficiently big, so the egg’s content can pass through. It would help if you use a darning needle or a thin metal skewer for the best results.
Place the egg over a bowl and blow through one of the holes as forcefully as possible. The egg’s contents will begin to emerge from the opposite hole. You can now set aside the egg’s interior since you will not require it in this project. You may use it for baking or cooking purposes.
After emptying the egg contents into the bowl, rinse the egg thoroughly under running water to remove any remaining yolk or white. Next, allow the egg to air dry.
With the egg fully prepared, you can now paint it. Insert a skewer or cocktail stick into the egg’s bottom hole, and hold it tight while painting. Consider poster or acrylic paints for the best results. Cheaper watercolor paints don’t offer sufficient color density when painted on eggshells. You can paint the egg using a paintbrush or sponge. Let the first coat dry for a more vibrant finish, and apply a second coat of paint.
Allow the painted egg to dry by placing the skewer into a glass. It is worth noting that acrylic paints dry fast, so add a second coat or decorate with spots or stripes within approximately 20 minutes.
Add paint until the final egg paint pleases you.
“Stained Glass” Wooden Cross
Making a beautiful stained glass cross is one of the finest Easter-themed activities. It lets you celebrate the resurrection of Jesus and have a meaningful keepsake or gift.
You will need the following items:
A pack of 480 tissue paper squares measuring 12.5cm.
40g of glue stick
A pack of 12 permanent pens
A pack of 12 triangular maxi permanent markers
A pack of 10 large wooden crosses
Steps to Follow
Draw a border around the cross using a pencil and ruler. Create a border of at least 7mm if you intend to write an Easter verse around the edges.
Add some lines to the cross shape to create the sections of the “stained glass” effect. You can follow a simple geometric pattern or get creative and make a more complex design.
Trace over the pencil lines using a permanent marker so that it resembles the metal frame in stained glass windows.
Select tissue paper of various colors and place them on the cross, following the outline and stamping out each piece as you progress. It is advisable to have adult supervision when kids are handling scissors.
Glue the tissue shapes in place using the glue stick. Leave to dry.
Add your preferred Easter verse(s) around the cross’s border. Your wooden cross that takes after “stained glass” is now ready for presenting as a gift or displaying in your home!
Paper Plate Chicks
If you are looking for cute and distinctive Easter crafts for kids, consider the paper plate chick! Not only is it perfect for preschool, kindergarten, and older kids, but it also involves sewing, setting it apart from other Easter crafts out there.
You Will Need the Following Items:
Scissors
Paper Plate
Single hole punch
Wool or yellow yarn
Yellow and orange craft paper
Black buttons
Fabric glue or hot glue
Steps to Follow
Draw and cut out an egg-shaped oval from the center of a paper plate using scissors.
Punch holes around the oval cut-out’s edge using a single-hole punch.
Using approximately 10 feet of yellow yarn, insert one end through one of the holes in the front of the plate and glue the other end to the back using hot glue. Adult supervision is advisable when using hot glue.
String the yarn through the holes to create the chick’s body, then cut off any excess yarn and glue it to the back of the plate.
Cut out two semi-circles for wings and a small triangle for a beak from a yellow and orange craft sheet using scissors.
Using hot glue, glue the wings and beak onto the paper plate chick.
Finally, attach black buttons as eyes using hot glue to finish your Easter craft.
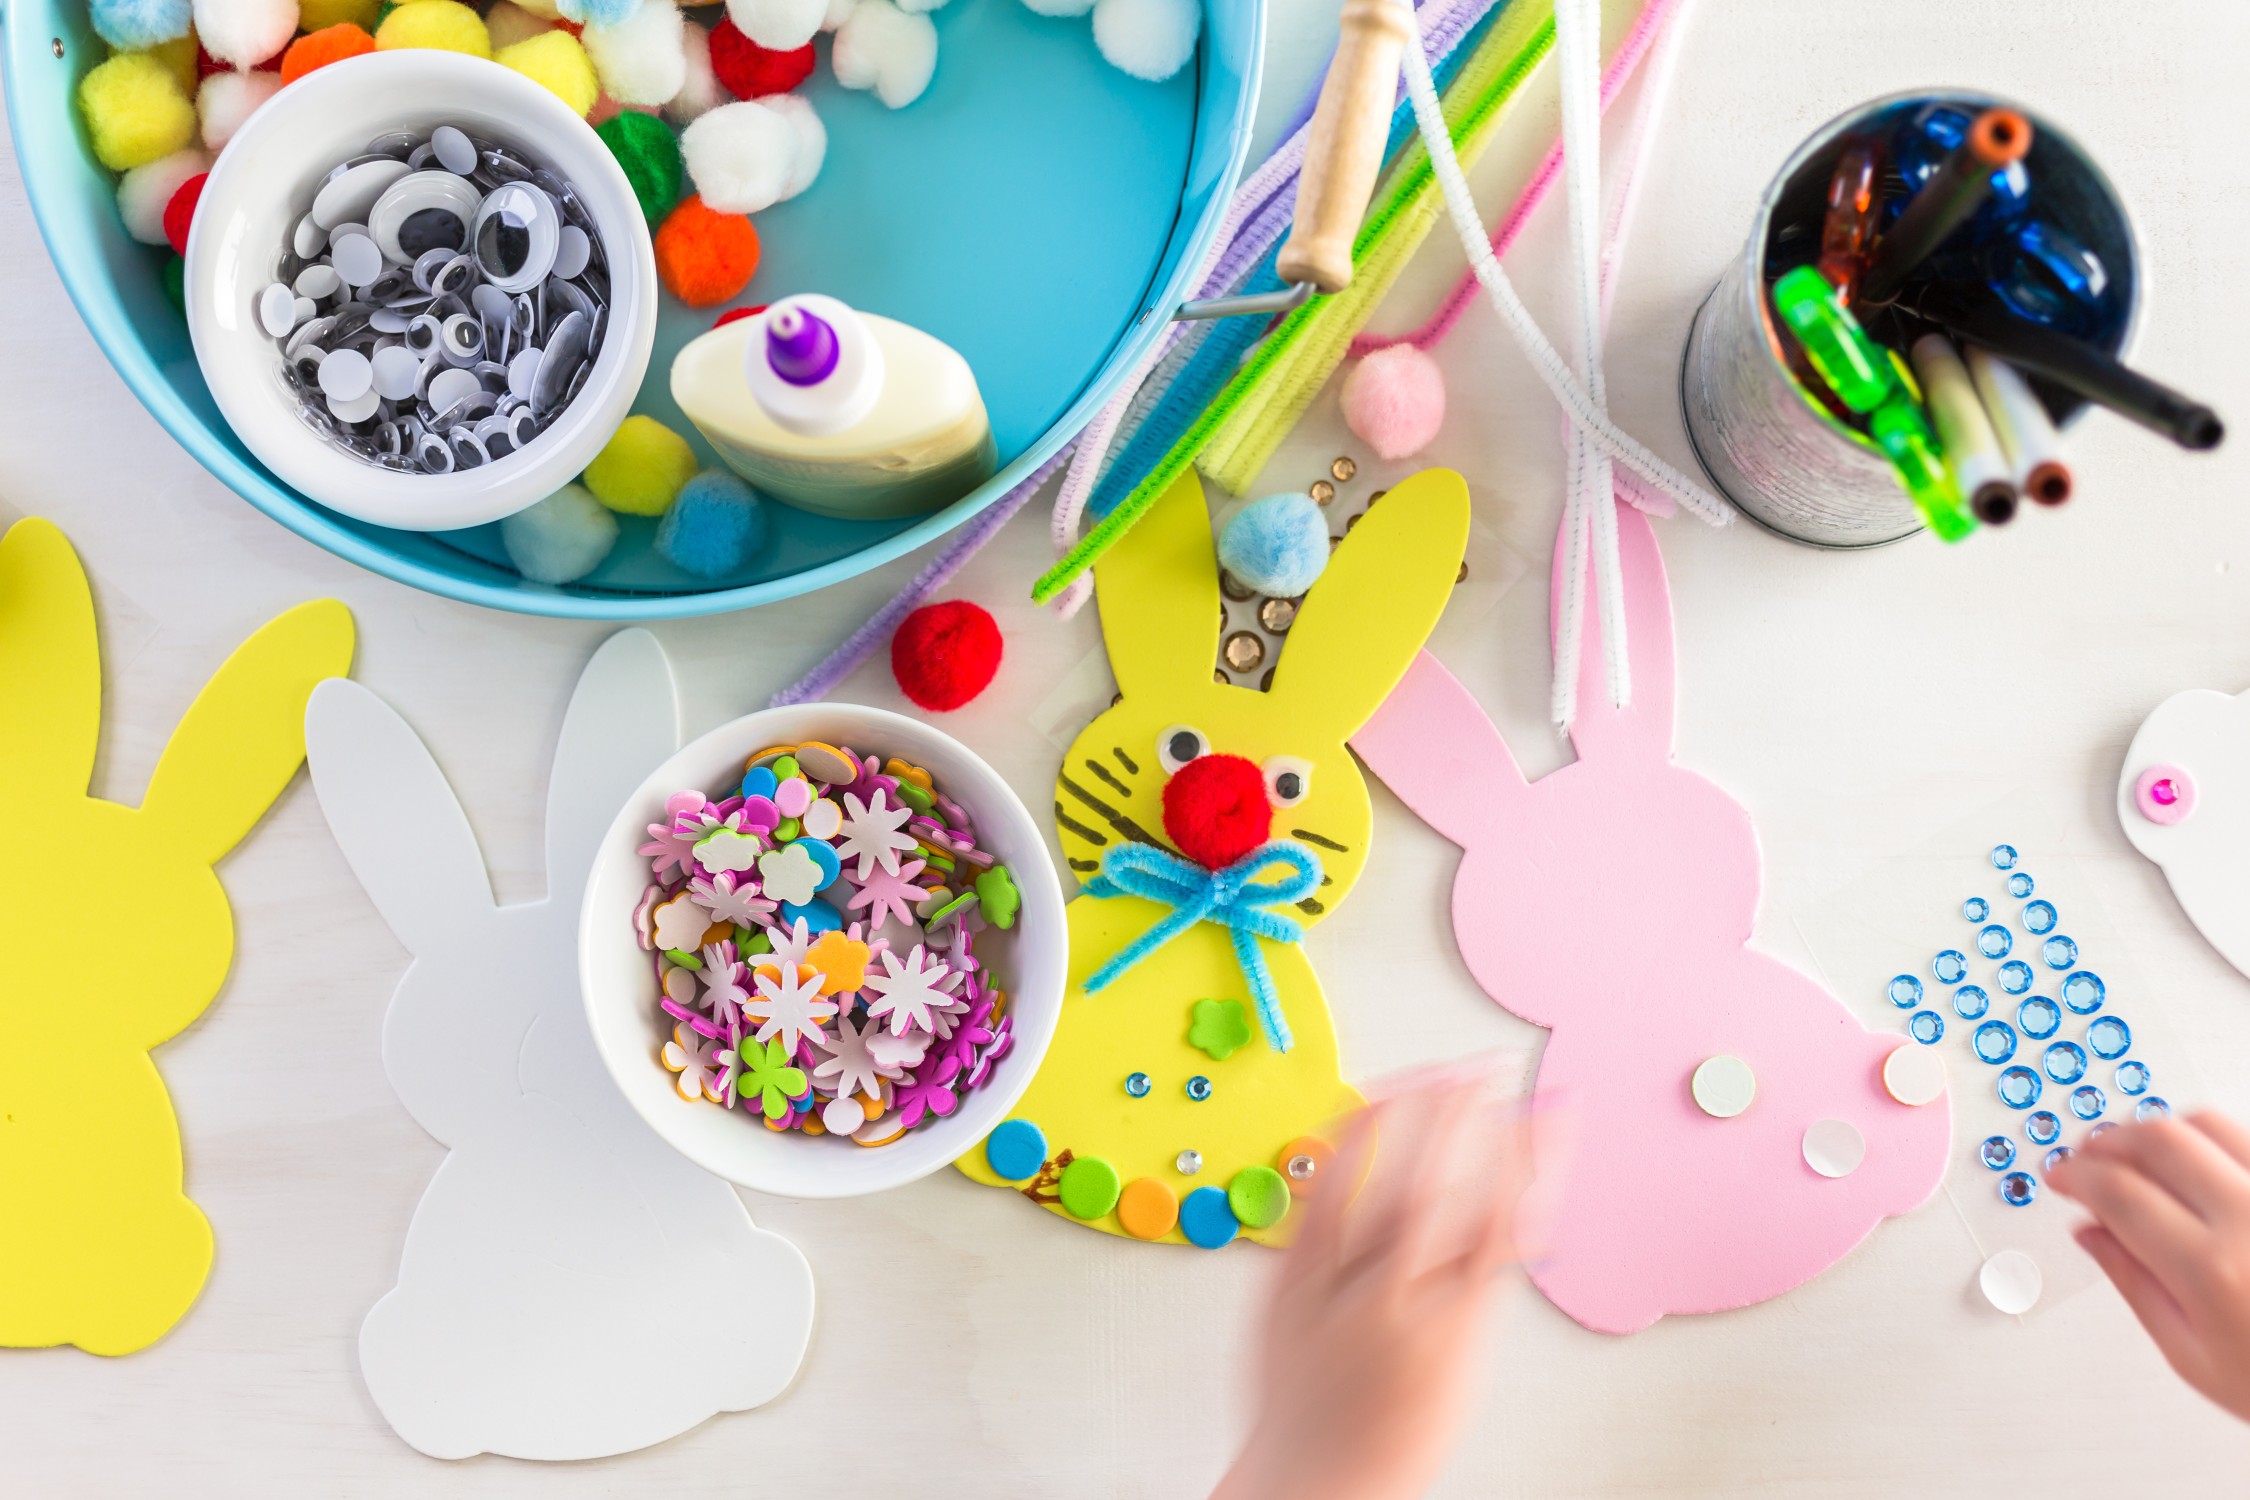
Bunny Cup Craft
Do you know you can design an Easter Bunny using a cup? This simple and enjoyable DIY Easter craft project is perfect for kids in kindergarten and older.
You Will Need the Following:
A paper cup
While and pink craft sheet
Googly eyes
Pipe cleaner
Pink pom-pom
Glue
Marker
Scissors
Steps to Follow:
Cut two long bunny ears from a white craft sheet and two smaller bunny ears from a pink craft sheet using scissors.
Glue the pink bunny ears onto the white bunny ears.
Flip a paper cup upside down and attach the bunny ears to the back of the cup using glue.
Add googly eyes to the front of the cup.
Cut the pipe cleaner in half. Next, make whiskers by folding each half into a V-shape.
Glue the whiskers under the eyes around the center of the cup.
Create a bunny nose by attaching the pom-pom at the top of the whiskers.
Draw the bunny’s mouth using a marker to finish off your Easter bunny cup craft.
Popsicle Stick Easter Friends
This adorable popsicle Easter craft for kids is a great way to add festive charm to your Easter celebrations. It’s also an enjoyable Easter activity that you can do with your children.
You Will Need the Following:
Yellow and orange pipe cleaner
Yellow and orange popsicle stick
Yellow and craft paper
Googly eyes
Glue
Scissors
Steps to Follow
Begin by cutting a small circle from a yellow craft sheet to design the chick’s face.
Using orange craft paper, stamp out a small bob for the hair and two small triangles for the beak.
Attach the googly eyes, beak, and hair to the yellow circle to create the chick’s face.
Wind a yellow cleaner around the yellow popsicle stick three to four times to make the wings. Fold the pipe cleaner’s ends into a drop shape.
Finally, attach the chick’s face to the pipe cleaner, and your popsicle Easter chick is complete! You can also follow the same steps to make bunnies and have the entire Easter crew.
The Parting Shot
Spending time designing creative Easter projects with your kids is a great way to bond and create memorable moments together. Not only are these Easter crafts for kids enjoyable, but they also promote creativity and imagination. So, grab your supplies, get creative, and have a phenomenal time making Easter memories with your little ones!
In the captivating world of music and entertainment, artists wield a unique power that extends beyond the boundaries of the stage, leaving an indelible mark on the hearts and minds…
In a remarkable turn of events, the Mega Millions lottery has captured the world’s attention by amassing a jaw-dropping jackpot of $1.55 billion. This astounding figure has broken records and…
How about a slice of garlic bread sea cucumber? It not only tastes good, but it might just prevent you suffering from diabetes. Sea cucumber? Diabetes? Yes, seriously. Look at…