How a Rainy Night and Beyoncé Kept DC Metro Running
August 9, 2023
In the captivating world of music and entertainment, artists wield a unique power that extends beyond the boundaries of the stage, leaving an indelible mark on the hearts and minds…
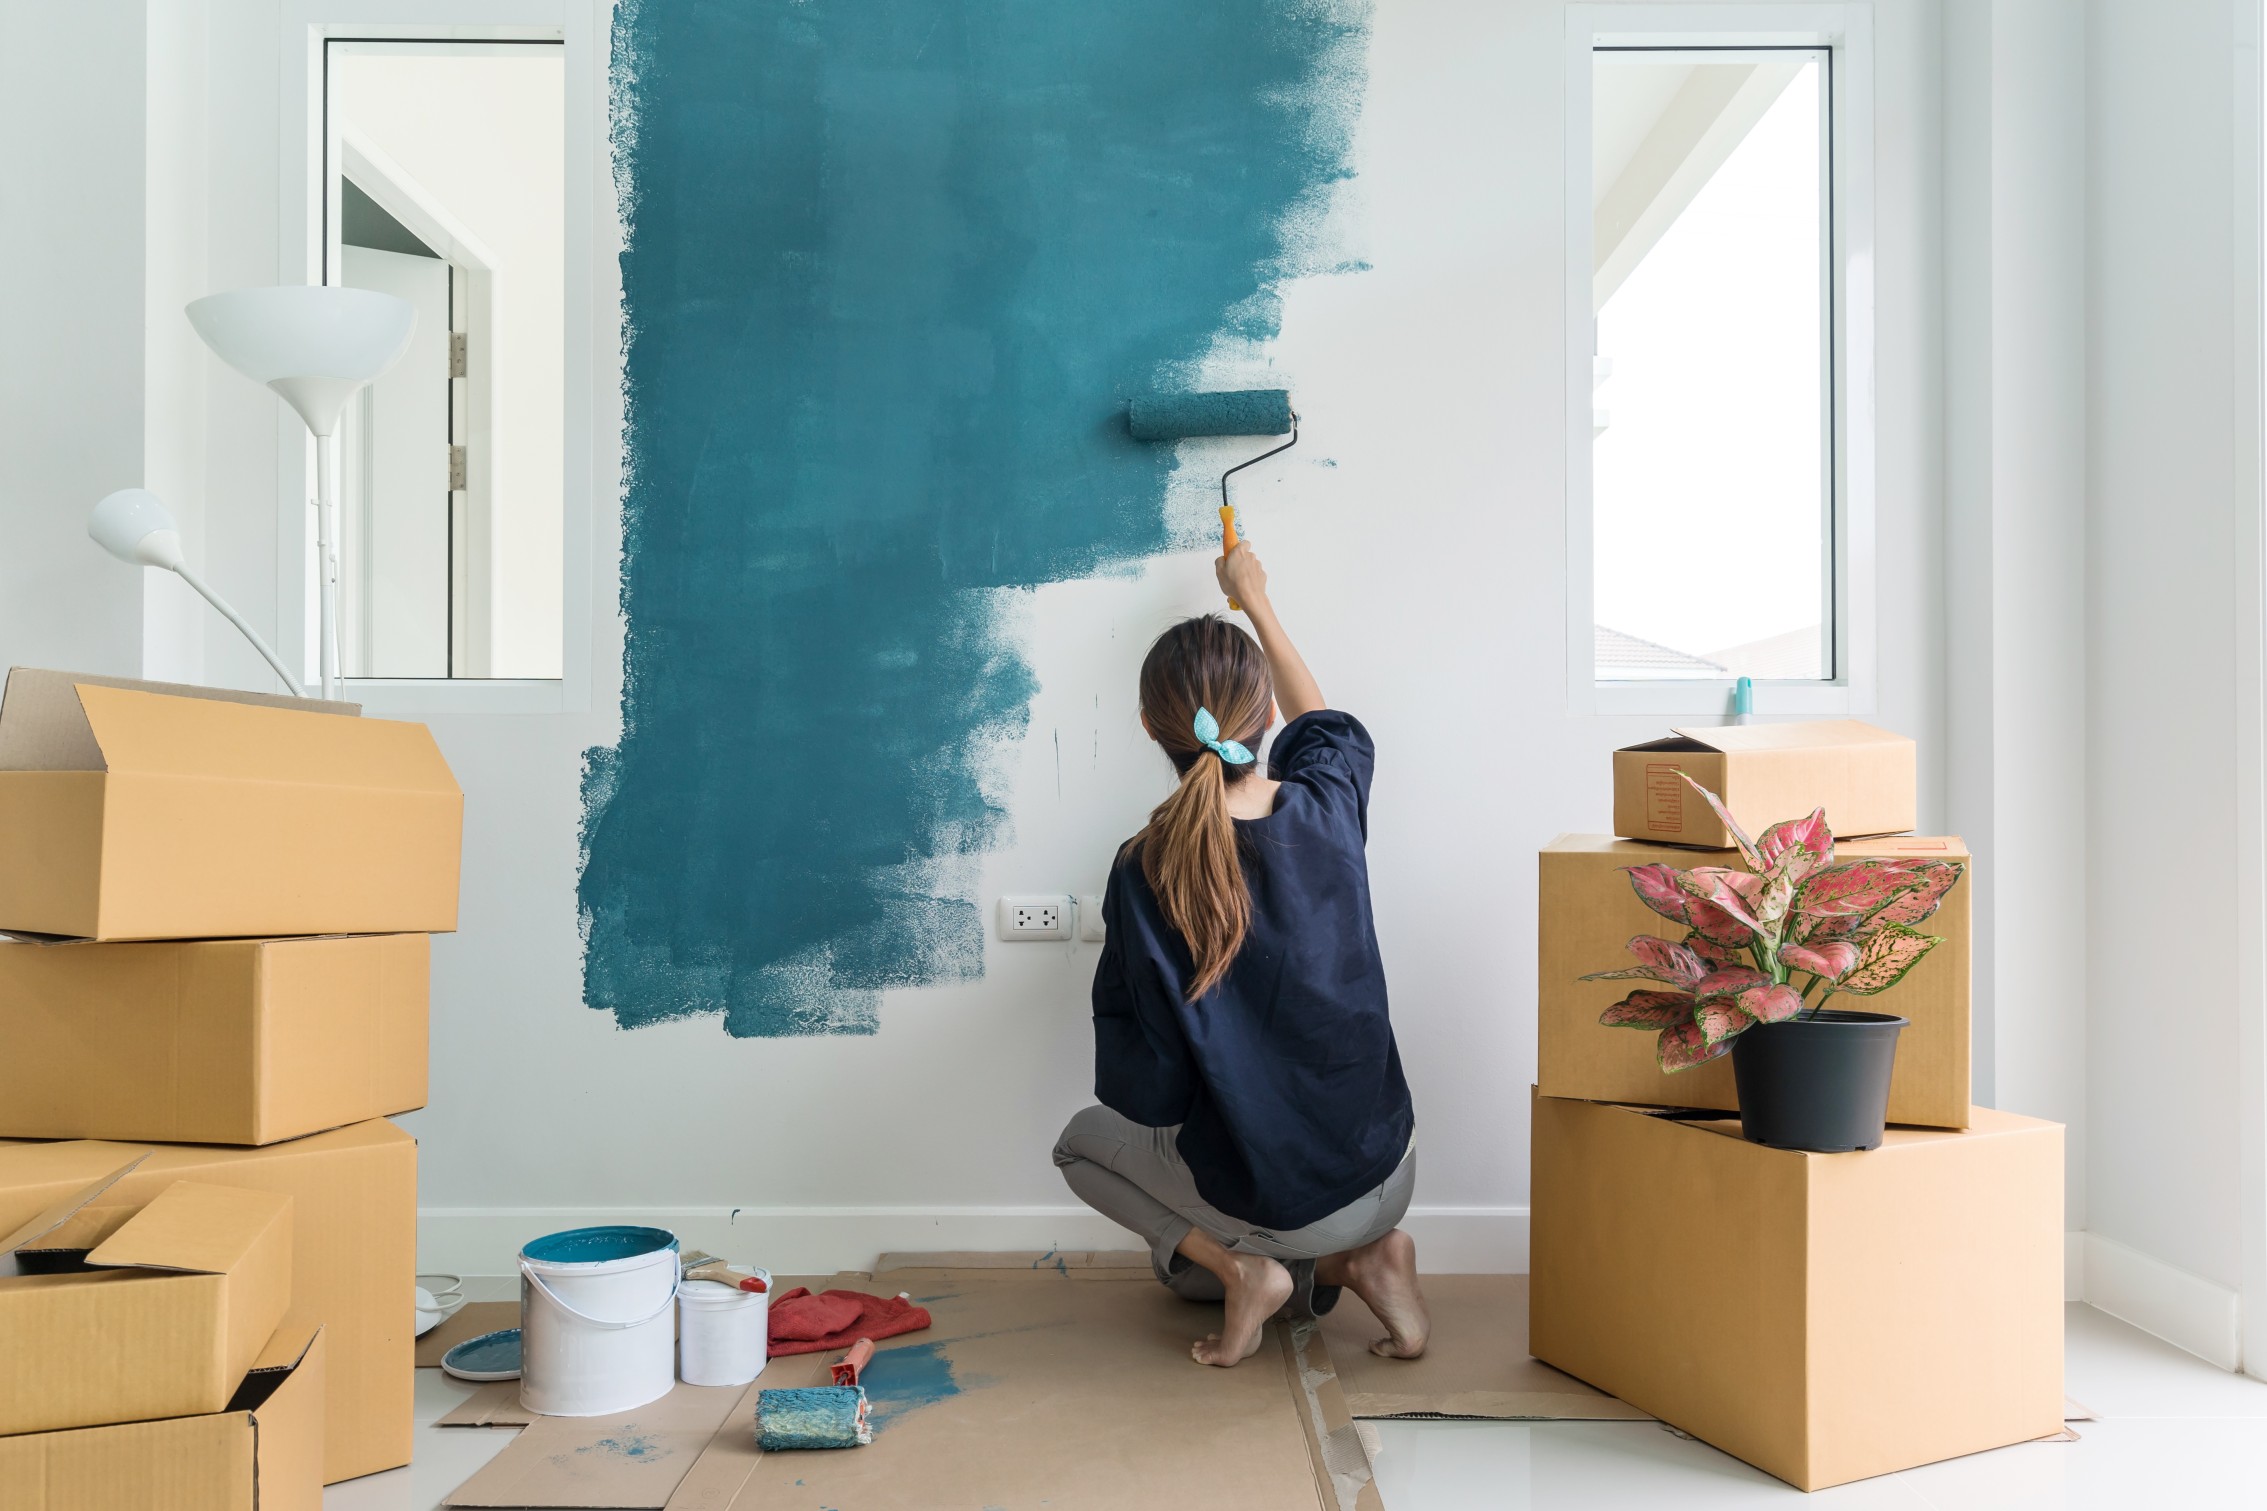
Are you tired of staring at the same old walls and looking for a budget-friendly way to spruce up your living space? Painting is one of the most accessible and affordable ways to transform your home, but it can also be daunting, especially if you’re not an experienced DIYer.
However, with a few home painting hacks up your sleeve, you can achieve a flawless finish quickly. We’ll share some popular painting tips and tricks to make your home renovation project a breeze.
Here’s a quick and clever painting hack to save time and effort when painting your walls:
• Line your trim with a file folder.
• Instead of painstakingly placing painter’s tape along the edges of your trim, take a sturdy file folder and fold it in half lengthwise.
• Press the folded edge against the trim, creating a barrier between the trim and the wall. This will protect the trim from accidental brushstrokes or paint smudges, allowing you to paint freely without worrying about precision. Once you’re done painting, simply remove the file folder; you’ll have perfectly clean and crisp trim lines.
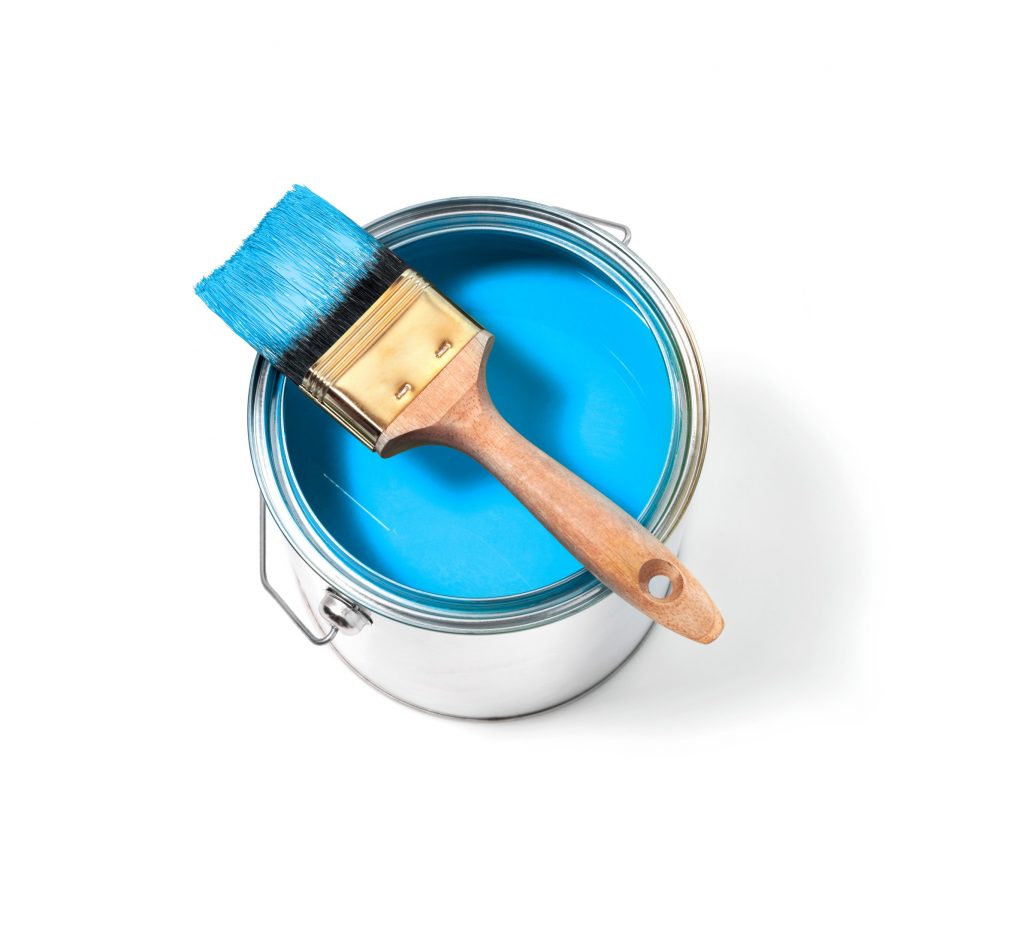
Keeping the paint can tidy is an often overlooked but crucial aspect of a successful painting project. Consider these tips to ensure that your paint can remain clean and easy to use throughout the process.
First, wipe the rim of the can with a cloth or paper towel before closing it to prevent the paint from drying and sealing it shut. Cover the can with plastic wrap before putting the lid back on to create an extra seal.
Finally, label the can with the color and room it corresponds to, making future touch-ups a breeze. When returning to the project later, these simple steps will save you time and frustration.
Keeping your paintbrush clean is crucial for maintaining its performance and prolonging its lifespan. After each use, thoroughly rinse the brush with warm water to remove any excess paint. Use a brush comb or your fingers to remove any remaining paint from the bristles gently.
For oil-based paints, clean the brush with mineral spirits or paint thinner. Once the brush is clean, reshape the bristles with your fingers and hang it upside down to dry.
Properly cleaning and storing your paintbrush will ensure that it’s ready for the next painting project, resulting in smoother application and better results.
Here’s a quick and clever painting hack that will save you time and mess when using a brush. Wrap a rubber band around the paint can horizontally across the opening. As you dip your brush into the paint, wipe the excess paint off against the rubber band.
This simple technique helps remove excess paint from the brush bristles, preventing drips and ensuring a smoother application. Plus, it keeps the rim of the paint can clean, making it easier to seal the can properly when you’re finished. Try this handy trick for a neater painting experience.
Cleaning paintbrushes can be tedious, but here’s a painting hack that will make it easier. Instead of harsh chemicals, use fabric softener to clean your brushes. Simply fill a container with warm water and add a few tablespoons of fabric softener.
Swirl your paintbrushes in the mixture for a few minutes to loosen the paint. Rinse them thoroughly with clean water and let them air dry. The fabric softener helps to break down the paint and leaves your brushes soft and ready for future use. It’s a simple and effective hack that saves time and effort.
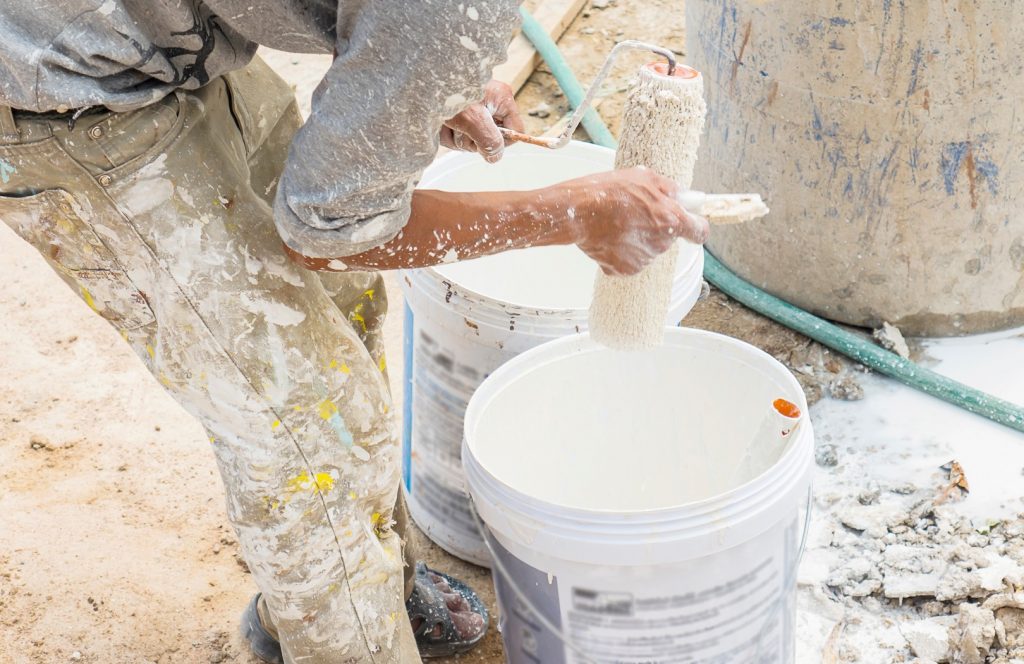
Use a 6-in-1 painter’s tool to clean rollers effectively. This versatile tool is designed with a curved edge that allows you to scrape excess paint from the roller cover easily. Simply slide the curved edge along the roller, applying gentle pressure to remove the paint.
Additionally, the painter’s tool usually features a pointed tip that can be used to clean out any paint stuck in the roller’s end caps. Utilizing this tool saves time and ensures that your rollers are thoroughly cleaned and ready for future use or storage.
To ensure clean and crisp lines when removing painter’s tape, a useful hack is to apply heat to the tape before peeling it off. You can use a hairdryer or a heat gun on a low setting to gently warm the adhesive.
The heat helps soften the glue, making removing it easier without damaging the freshly painted surface. Hold the heat source a few inches from the tape and move it sweepingly. After heating the tape, carefully peel it off at a 45-degree angle. This trick will leave you with sharp, professional-looking edges.
Cover your floors with cardboard to protect from paint drips and spills. Cardboard is an inexpensive and readily available option that provides a sturdy barrier between the paint and your floors. Simply flatten out large cardboard boxes or use smaller pieces to cover specific areas.
Secure the cardboard in place with painter’s tape or heavy objects along the edges. Not only will this prevent accidental paint damage to your floors, but it will also make the cleanup process much easier.
When you’re done painting, simply remove the cardboard and dispose of it responsibly.
Applying multiple thin coats of paint is a common recommendation, but did you know that thicker coats can yield better results?
Instead of spreading the paint too thin, try applying slightly thicker coats. This technique helps achieve even more consistent coverage, reducing the chances of streaks or patchiness. Be sure not to go overboard with the thickness, as it can lead to drips or runs.
Aim for a smooth and controlled application, and allow each coat to dry thoroughly before adding another layer. The result will be a beautifully painted surface with fewer touch-ups required.
A quick and easy home painting hack is to store your brushes in the freezer between coats. Simply wrap the brush tightly in plastic wrap or place it in a sealed plastic bag and place it in the freezer.
This prevents the paint on the brush from drying out and saves you the hassle of cleaning it between coats. When you’re ready to resume painting, just remove the brush from the freezer and let it thaw for a few minutes before using it again. This hack keeps your brushes in good condition and ready for your next painting session.
With these popular home painting hacks at your disposal, you can confidently tackle your next DIY painting project. These insider techniques will save you time, money, and frustration from prepping surfaces like a pro to achieving flawless finishes.
Remember, practice makes perfect, so don’t be afraid to experiment and refine your skills. So, grab your brushes, select your colors, and unleash your creativity onto the canvas of your home’s walls. Happy painting!
Love this article? Don’t forget to bookmark this page or post to your timeline for reference later!